Document Batch Upload Guide
This guide explains how to upload a batch of documents and link them to claims in the platform.

TIP
You can also import documents via the batch feature. For more information, see the Batch section.
Preparing Your Documents
- Ensure each document filename follows this format:
<claim_id>_rest-of-file-nameFor example: 12345_invoice.pdf or 67890_accident_report.jpg
- The
claim_idmust be a valid claim identifier in the system. - Use an underscore
_to separate the claim ID from the rest of the filename.
Uploading the Document Batch
- Log in to the platform.
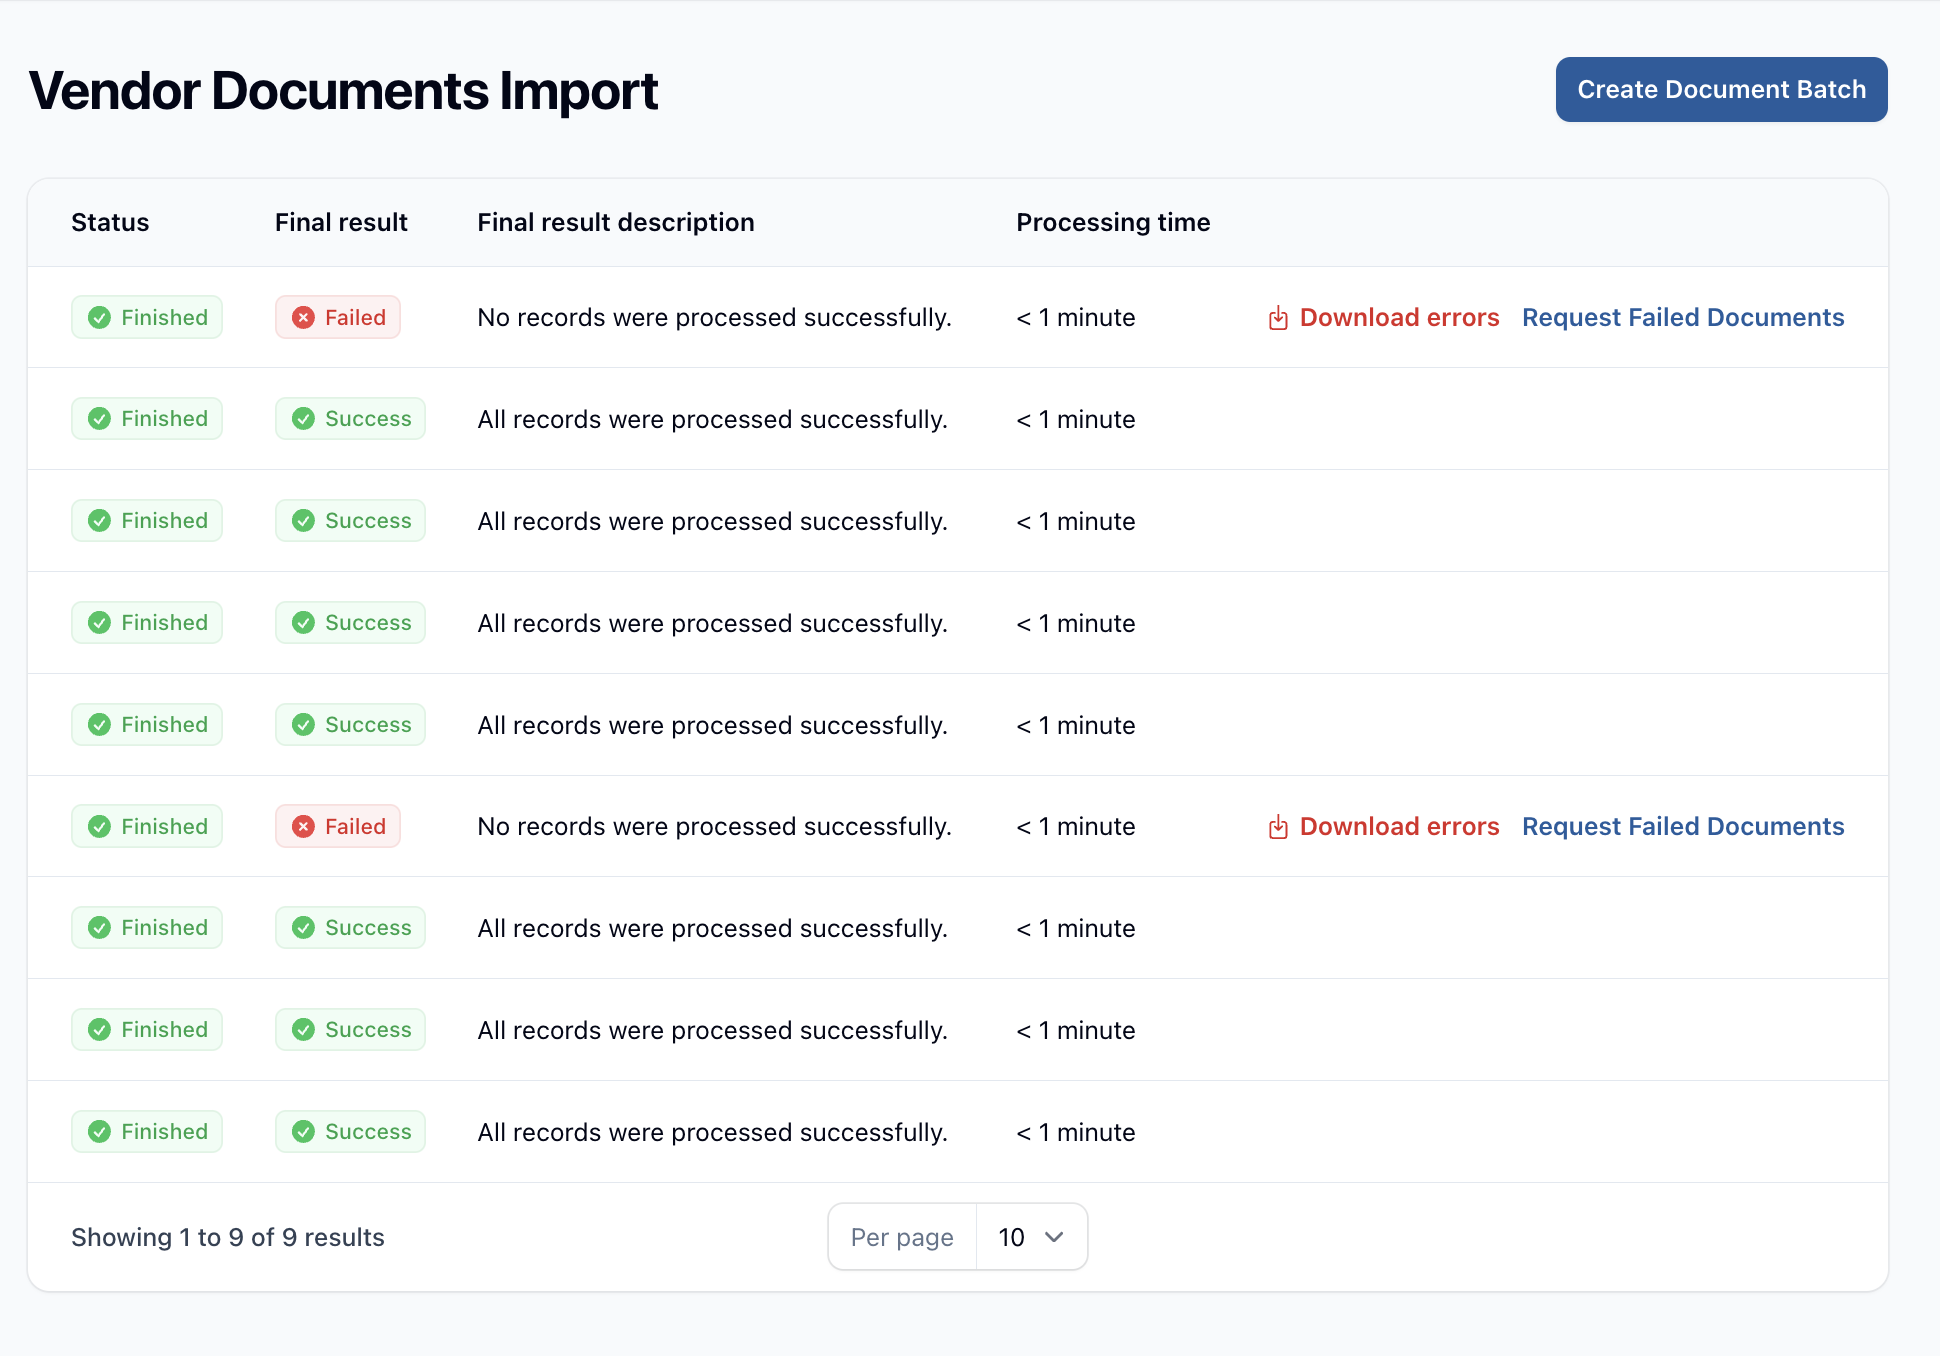
- Navigate to the 'Documents' section under the 'Imports' menu.
- Click the 'Create Document Batch' button.
- In the file upload dialog, select all the documents you wish to upload.
- The files will automatically be uploaded to the platform.
Processing and Linking
After upload, the system will:
- Automatically parse the filenames to extract claim IDs.
- Link each document to its corresponding claim based on the extracted claim ID.
- Scan the documents for content and metadata.
- Send the documents to Guidewire for further processing.
Viewing Uploaded Documents
- Uploaded documents can be viewed later in the respective claim's document section.
- Documents will be organized based on the scan results and any metadata extracted.
Error Handling
- Documents with invalid or non-existent claim IDs will be flagged for review.
- You can view any upload errors in the document batch import log.
Best Practices
- Double-check that all claim IDs in filenames are correct before uploading.
- Use descriptive filenames after the claim ID for easy identification.
- Ensure all documents are in supported file formats
- Review the upload results to confirm all documents were processed successfully.
By following these guidelines, you can efficiently upload and link multiple documents to their respective claims, streamlining your document management process.